Showing posts with label Technique. Show all posts

Alcohol Ink Palette

Pin It!


How do you get all this ink into this portable palette???

I had so much fun making and working with my Perfect Palette that it has inspired me to create one out of Alcohol Inks.  I absolutely love, Love, LOVE my alcohol inks and the more ways that I can use them the better!  I have a lot of pictures posted but also created a video so you can easily follow along as I create my palette.  At the end of the tutorial I have some pictures and links of projects I have made with Alcohol Inks along with a new one that you may like to follow along and make for yourself.  ENJOY!


 Project Featured in the video above :)
 

The Ranger Palette is great by providing 36 nice deep wells for your inks.  I started off by picking out the colors that I wanted for my palette and how I wanted them arranged. 

My Dymo label maker came in handy...again for labeling the lid of my palette.  I use the extra small size so that I can make sure that the lettering can all fit in the space and not be cramped. 
 Once I had everything layed out and labeled I was ready to ROCK! 


I began filling each of the palette wells with enough alcohol ink to fill the bottom (about 10-12 drops).
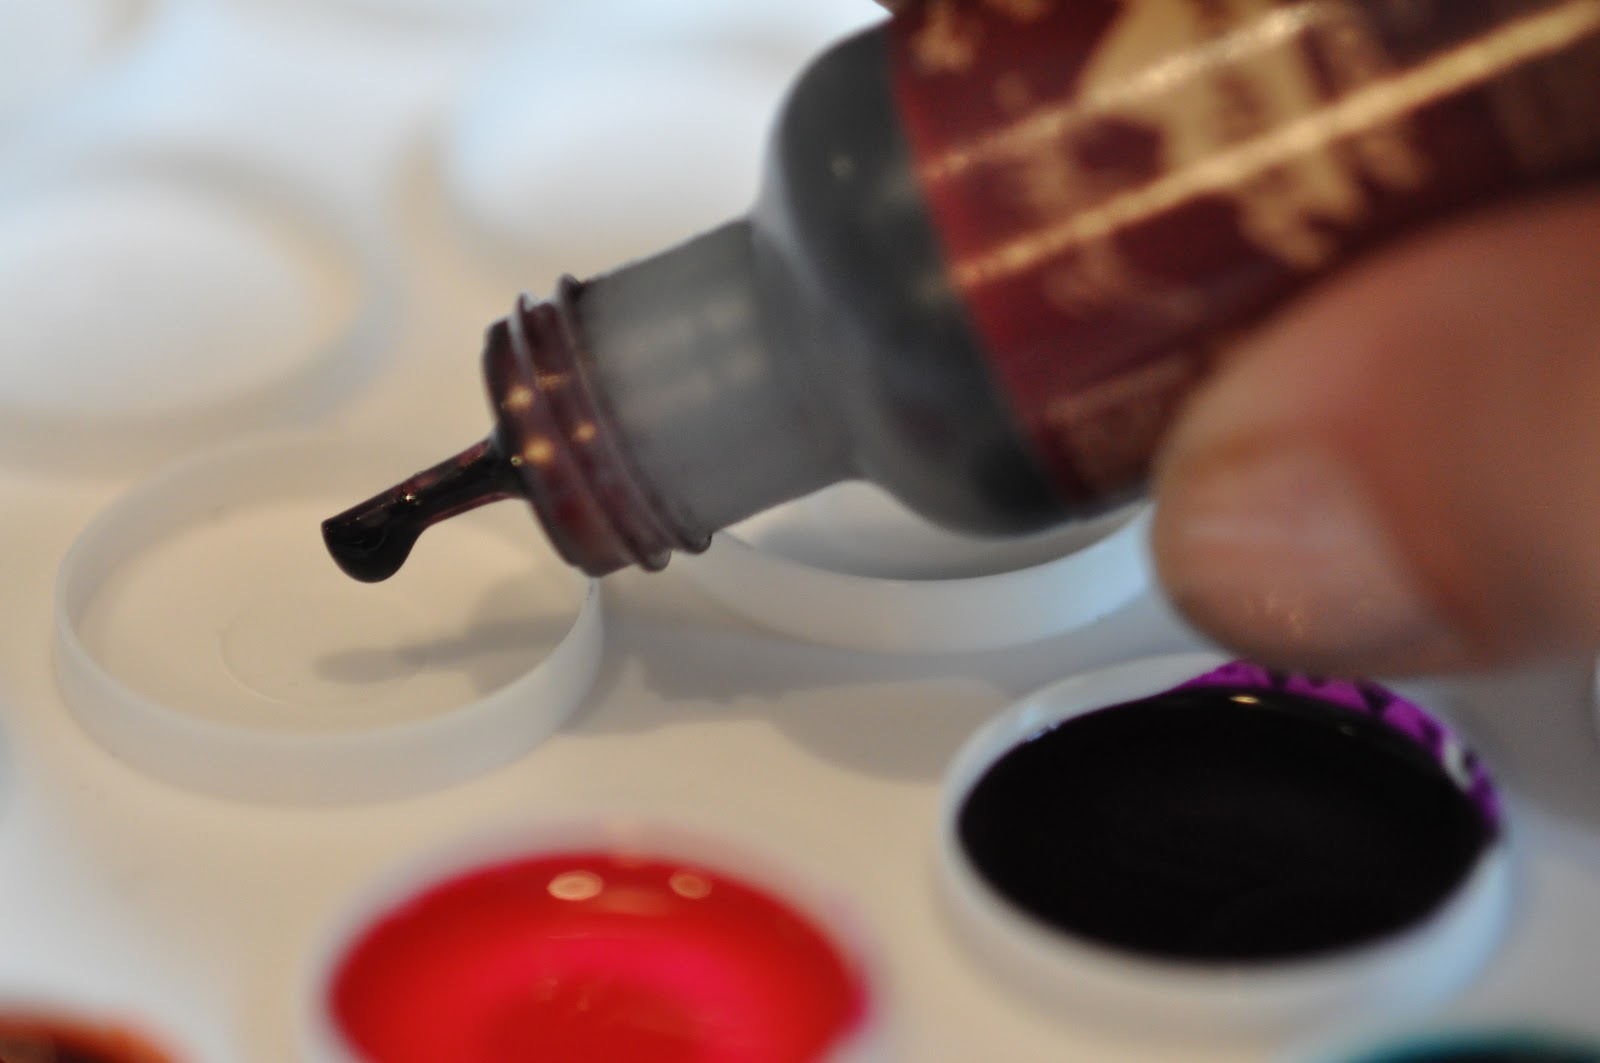

After everything was filled I set aside to let it dry. It should be ready to use in a half hour to an hour but it you are impatient you can always use a heat gut to speed things along. Now you are ready to make magic. Use your Alcohol Ink Fillable Pen to do some creating.


 I have posted some projects below that I have created plus a step by step is included in the video above. 


Create a Perfect Palette

Pin It!

I have worked with Perfect Pearls in the past and as you all know I am a fan!  One of the fan favorite posts of all time is my Perfect Pearl mists.  And back by popular demand here is the list of my Perfect Pearl Mist combos that I used. 

Today I am going to do something a little different with the Perfect Pearls.  I want to create a Perfect Palette.  Tim Holtz along with Ranger has the perfect ink palette tray for this project.  It has 36 compartments and a hinged lid.


First, I layed out all of my Perfect Pearl colors and organized how I wanted them in my palette.
***Here's a Christie Tipsi - Ranger has changed the label on the Perfect Pearl jars.  The newer ones are shown below on the right compared the the older model on the left.  The older ones the label is to be on the bottom (towards the table when you open the top).  The new labeling states "this side up" having the larger Perfect Pearl logo on top (towards the ceiling).   


I used my Dymo labeler with clear tape to label the lid of the palette case with all the Perfect Pearl names.  That way I didn't have to guess which was which.  All I had to do was flip the lid and peek at the name. 


A simple scoop or two with a small art palette knife was all that was needed to fill each compartment.

Working a row at a time I filled them with color and added a drop or two of water, stirring to mix thoroughly. (don't worry if any powder falls on the outside of the compartments after it all dries it can easily clean up)

Once you have everything filled to your liking let it dry overnight (or until dry) keep the lid open while drying. 

Enjoy your new Perfect Palette with Tim Holtz's Water Brushes, they come in a fine detail point and a wide brush.  Watch the video above for more info plus I will have related posts following.  But in a nutshell, fill your water brush with water...select your color of Perfect Pearl from your palette... pick up as much or as little with your water pen and add your shimmer to your project.  It is permanent when dry because the binders are activated when wet.  ENJOY!

Faux Patina Tag

Pin It!

 Week 2 in the Compendium of Curiosities challenge.  This week it was Faux Patina.   If you want to play along in this great challenge with all the other great artists or just check out all the other fabulous art submitted for the challenge hop on over to Studio L3 and say hi to Linda.  You can find the instructions for the Faux Patina technique on page 58 in Tim's new book Compendium of Curiosities vol. 2.  I loved this technique so much I used it not just on the embellishment but on the tag too!  LOVE IT! 


Creative Chemistry 101 Tag Samples

Pin It!


Life has been a bit crazy this past month.   I started the month with a bang by celebrated my 16th anniversary with my wonderful husband Tim.   I then was busy as a bee with 3 successful shows.  We dog sat for our part time dog (Attila the Rottweiler)  for 10 days.  And ended the month with the joyous occasion of my Grandsons 1st birthday.  

One of the greatest things about OnlineCardClasses is that it can fit around your crazy schedule.  I would watch the videos lying in bed before dozing off and then do my tags when I could.  I printed off the pages right from my Ipad and had everything ready for me.  Plus, I'm able to access the video info anytime I want.  The Creative Chemistry 101 class was by far the best class I've taken.  Not only do you get great techniques but you get great knowledge of the products themselves.  If you understand what it is and how it works you know why they work the way they do.  What a deal for $35.!  Even though I have taken classes from Tim before I always seem to learn something new.  He is truly a fountain of knowledge and the technique master! 
Here are some of the tags that I did for the class...I will post more tomorrow.

Blended Spritz & Flick

 Brushless Watercolor

 Wrinkle Free Distress

 Custom Stamp Pad

 Layered Misting

 Watercoloring With Re-inkers

 Alcohol Ink Agates

 Marbled Stains

 Stained Kraft Resist

 Stamping With Stains

Febuary Tag of 2012

Pin It!

As some of you may have heard Tim Holtz is no longer going to do the 12 Tags of Christmas instead he will be doing the a tag a month for the 12 Tags of 2012!!! I love this idea! Having done all of the 12 tags of Christmas I don't know what to do with them all except to use them as inspiration and to bring them out at Christmas for display. This way I can display my current tag and keep all past tags as inspiration and for info as to how to do a certain technique.  Here is my tag for this month.  You can check out Tim's tag HERE and find out all the awesome techniques used to make this tag.


 I have a little tip for pleating the tissue tape.  If you are concerned with the back ruffle being sticky, rub a little baby powder on it to un-stick it.  You can also do this to stickers and other embellishments.


Follow Me on Pinterest

Search This Blog

Grab My Button


Contact Me At

Archives

MyFreeCopyright.com Registered & Protected