Showing posts with label Ranger. Show all posts

Guest on Paperclipping Roundtable

Pin It!

Today I had the pleasure of being a guest on Paperclipping Roundtable along with Wilna Furstenberg and Julie Fei-Fan Balzer . I have been a faithful listener for years of this awesome podcast. Noell & Izzy Hyman, the dynamic duo of a husband/wife  team lead this conversation based hour long podcast about all things scrapbooking.  Noell and I got to be great friends while at Ranger University together.  
 Today's topic was all about how to be able to try out all those techniques you want to or tackling a project with out worry about messing up your space.  Check it out. 
 
Everyone has a product pick of the week and mine was an easy one... the Compendium of Curiosities  vol I & II by Tim Holtz

 
 I keep a box of technique tags next to my workspace to reference.  It is a great way to grab a little inspiration when you have creative block. 
 
 
Toward the end of the show I mentioned my Ranger Station and the clear tiered shelves that I store my products on.  I have a have 2 of them placed side by side to make semicircles along the wall..  I believe in having easy access to my most used products.
 

Easy Altered Clipboard

Pin It!

 
I wanted to share with you an easy project to transform those boring and ugly office clipboards into something really fantastic!  You may remember I posted a while back a few clipboards that I altered to hang inside my ironing board cabinet.  You can see the post HERE.  Well, these are done in a totally different way, with a totally different style.  I love the old timey look of them. 
 These clipboards are easily found at garage sales and thrift stores for under a dollar.  The best part is since you are covering it it doesn't really matter if it's in bad condition.  You will see that in the video.  The Tim Holtz Idea-ology Melange Tissue wrap was perfect for this project.  I love the collage effect that the paper has built into it with the beautiful butterflies, text, music and architecture.  If you are interested in another project using the Idea-ology tissue wrap check out my Magnet Board idea. 


The clip on top got a make over too with some Alcohol Ink and some awesome metal embellishments that I also attached with the Matte Multi Medium.

 Since I used legal size clipboards I had a few inches at the bottom extra after the paper was attached.  I tied on some twine and added a few adornments to make my creative soul happy.  Now I have a place to tuck in a business card or a few loose notes and leave my writing surface free of clutter.


Create Your Own Glitter Palette

Pin It!


I've always had a thing for Stickles but when once I got my hands on the new Dry Stickles it went to a whole new level.  I created a video for you to show you just how easy it was to create my own custom color palette using the fabulous Distress Stickles Dry Glitter and Adirondack Alcohol Inks.  I am In LOVE~  
There are a few differences between the Distress Stickles Dry Glitter
 and the regular Stickles Dry Fine Glitter.
 
* Distress Glitter comes in just one color (clear Rock Candy) but don't let that stop you, with the help of my video tutorial you can create a multitude of colors for your projects. 
* Distress glitter has variegated glitter sizes
* Distress glitter has a beautiful shimmer without being overly sparkly
* Distress dry glitter comes in a large 60 gram jar 
* The Stickles Dry Fine Glitter is available in 24 colors
* Stickles Dry fine glitter comes in a 21.2gram jar with shaker top and screw off lid
* Stickles Dry fine glitter will add lots of beautiful sparkle and shine to your projects
 
One of my favorite things, as you will see in the video, is you can make several shades of the same color glitter!   The ones below I created in 3 shades of Eggplant by adding more or less of the Adirondack alcohol ink to each little container of Dry Distress Glitter.  The stripes were made by using Wonder Tape.  Love It!!!
 
 It's as easy as 1, 2, 3!!!
1. Scoop glitter into a smaller container
2. add a few drops of Alcohol Ink
3. Stir well and let dry!
  

Woodland Table Centerpieces

Pin It!

My best friend Julie, is almost due to have her baby.  I was more than happy to help in the preparations of her baby shower.  Since her nursery is going to be a woodland theme I thought it would be appropriate to incorporate that into the decorations of the shower.  I created the favors, centerpieces, a banner, wishing tree and a few other surprises I will share with you in my next few posts.  Enjoy!

 I created the birdhouses from plain birdhouses I found at my local craft stores.  Each birdhouse was uniquely decorated.  I used my Ranger paint dabbers to paint the houses.  Each house was decorated with it's own combination of decorative papers. Most got additional details added with paint, die cuts, embellishments, etc.  I then used a strong epoxy to attach them to a candlestick I painted to match.

The woodland animals I cut from the Cricut cartridge Give A Hoot.  Our area was hit hard with storms and I was able to use some fallen trees for the pedestals for my creations.  My wonderful Dad help me cut the wood into the sizes that I wanted and then I used some heavy adhesive to attach the top to the bottom.  A few pine cones and other nature elements added to the centerpiece. 

Because I wanted the centerpieces to look great no matter where you were sitting at the table I added mason jars filled with flowers and greens.  Not just ordinary mason jars though, I painted these with the delicious colors from my Ranger Paint Dabbers.  I simply poured a little into the jar added a little water and used a brush to coat the sides and bottom.  The outside of the jars remained the beautiful shiny glass but showed the gorgeous color that coordinated with the decor.  Lovely!

I will be selling the bird houses along with many of my other creations at my next show 
36th Annual ALL NIGHT Flea Market
August 18th, 4 PM - 4 AM
Yes, you read that right
4 o'clock PM till 4 in the morning!!!
2015 Manchester Road ,Wheaton, IL 60187

Table 1 Centerpiece

 Table 2 Centerpiece

Table 3 Centerpiece

 Table 4 Centerpiece

 Table 5 Centerpiece

 Tables 6 and 7 Centerpieces

Alcohol Ink Palette

Pin It!


How do you get all this ink into this portable palette???

I had so much fun making and working with my Perfect Palette that it has inspired me to create one out of Alcohol Inks.  I absolutely love, Love, LOVE my alcohol inks and the more ways that I can use them the better!  I have a lot of pictures posted but also created a video so you can easily follow along as I create my palette.  At the end of the tutorial I have some pictures and links of projects I have made with Alcohol Inks along with a new one that you may like to follow along and make for yourself.  ENJOY!


 Project Featured in the video above :)
 

The Ranger Palette is great by providing 36 nice deep wells for your inks.  I started off by picking out the colors that I wanted for my palette and how I wanted them arranged. 

My Dymo label maker came in handy...again for labeling the lid of my palette.  I use the extra small size so that I can make sure that the lettering can all fit in the space and not be cramped. 
 Once I had everything layed out and labeled I was ready to ROCK! 


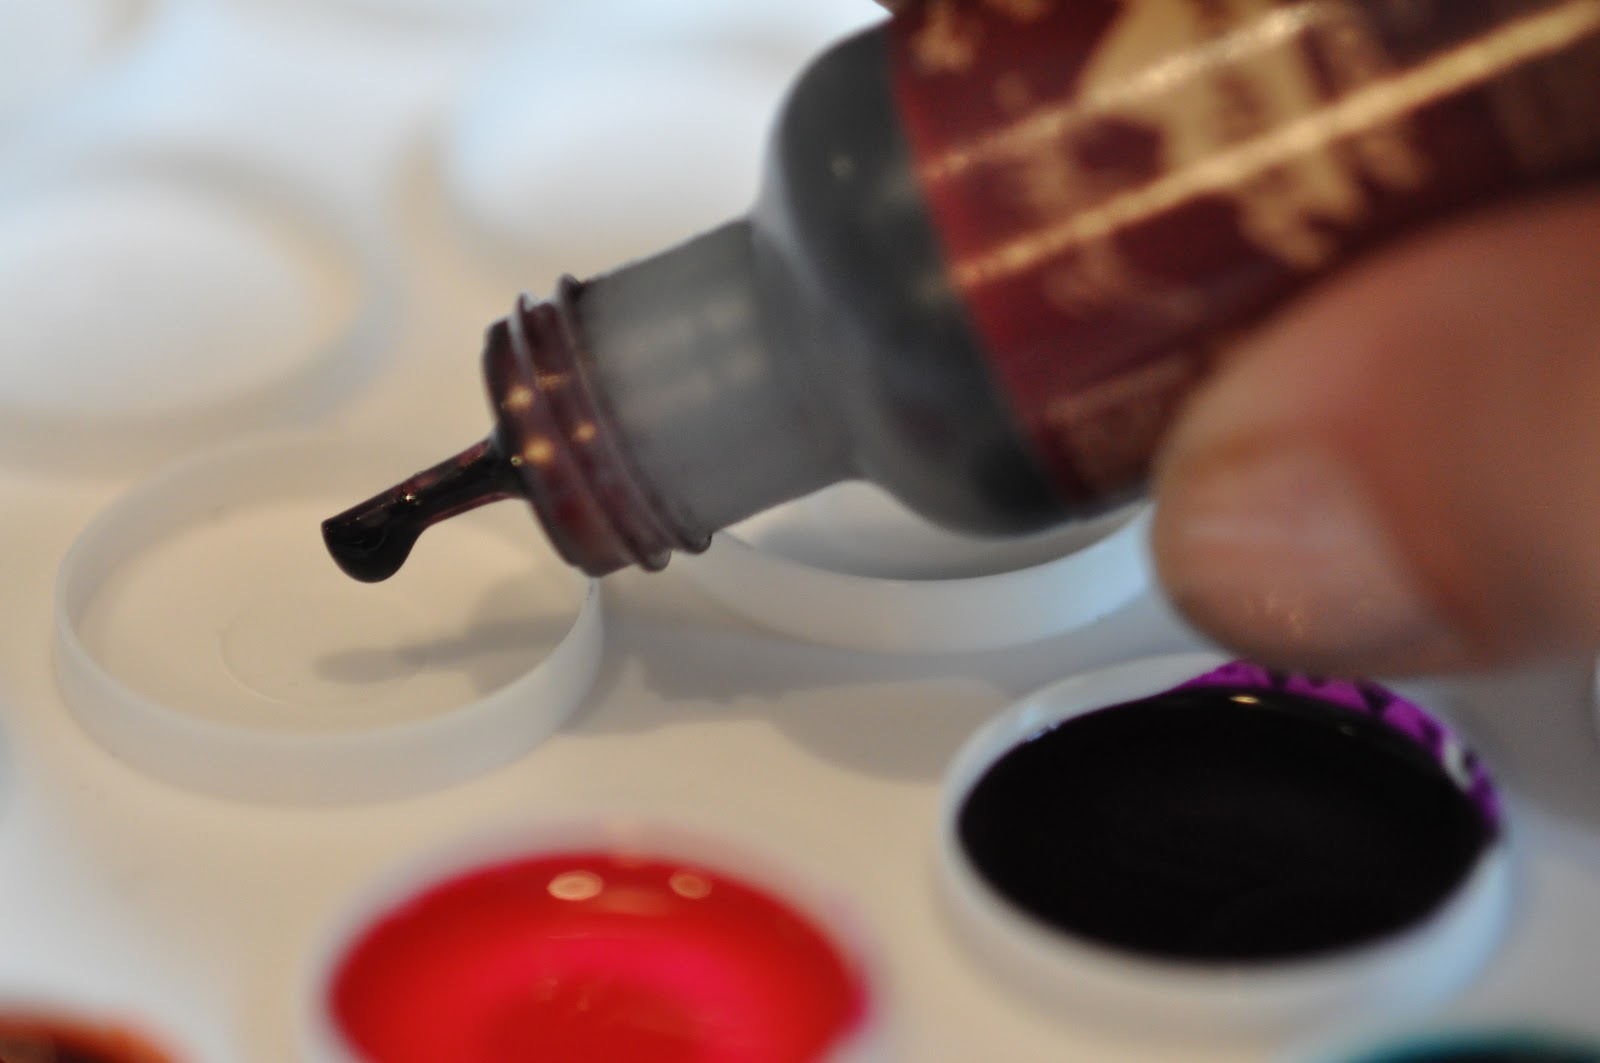
I began filling each of the palette wells with enough alcohol ink to fill the bottom (about 10-12 drops).


After everything was filled I set aside to let it dry. It should be ready to use in a half hour to an hour but it you are impatient you can always use a heat gut to speed things along. Now you are ready to make magic. Use your Alcohol Ink Fillable Pen to do some creating.


 I have posted some projects below that I have created plus a step by step is included in the video above. 


Follow Me on Pinterest

Search This Blog

Grab My Button


Contact Me At

Archives

MyFreeCopyright.com Registered & Protected