

How do you get all this ink into this portable palette???

I had so much fun making and working with my Perfect Palette that it has inspired me to create one out of Alcohol Inks. I absolutely love, Love, LOVE my alcohol inks and the more ways that I can use them the better! I have a lot of pictures posted but also created a video so you can easily follow along as I create my palette. At the end of the tutorial I have some pictures and links of projects I have made with Alcohol Inks along with a new one that you may like to follow along and make for yourself. ENJOY!
Project Featured in the video above :)

The Ranger Palette is great by providing 36 nice deep wells for your inks. I started off by picking out the colors that I wanted for my palette and how I wanted them arranged.

My Dymo label maker came in handy...again for labeling the lid of my palette. I use the extra small size so that I can make sure that the lettering can all fit in the space and not be cramped.

Once I had everything layed out and labeled I was ready to ROCK!

I began filling each of the palette wells with enough alcohol ink to fill the bottom (about 10-12 drops).
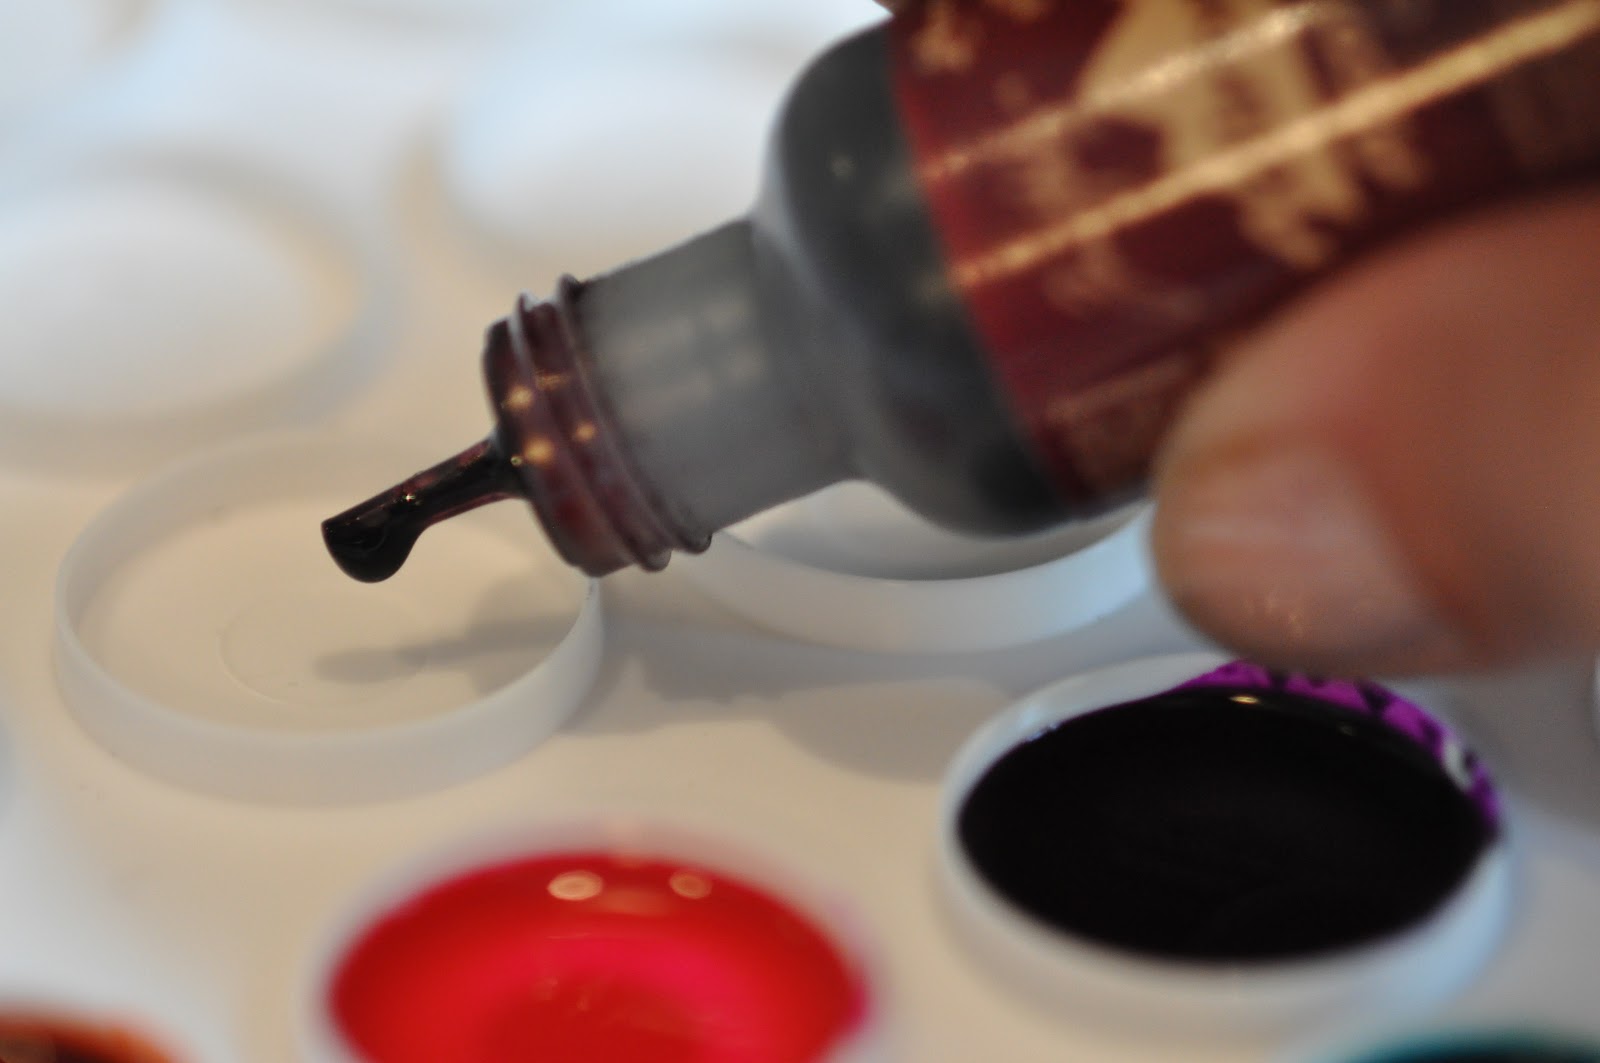
After everything was filled I set aside to let it dry. It should be ready to use in a half hour to an hour but it you are impatient you can always use a heat gut to speed things along. Now you are ready to make magic. Use your Alcohol Ink Fillable Pen to do some creating.

I have posted some projects below that I have created plus a step by step is included in the video above.


 |  |  |  |  | |
 |  |  |  |


6 comments:
Thanks for the step by step photos. Love the projects.
Following your tutorial on making a palette for perfect pearls, I have 2 of these palettes on order - one for PPs and one for alcohol inks! I haven't got the pen for the latter, but intend moistening a normal brush with blending solution, or using a craft nib. Thanks for sharing - great ideas!
Shoshi
Thanks for your demo. I was using the palette for watercolors. Palette is great for detail work. You had me stumped on what to do with the ink when it was dry. Well I will need to go out and get another one. Love the pallet because it is so mobile. Thanks again for another great demo. :)
Christie - I've just uploaded a blog post with links to your blog, and your two tutorials on the ink palettes - they are so good that they need to be shared! I haven't got time to get started yet, but I've now got all the stuff and really looking forward to trying it out!
I think on balance, my idea of using an ordinary brush for the alcohol inks isn't such a good one - there would be more evaporation, and it wouldn't be as convenient as the fillable brush. Seeing how easy that is in your tutorial, I think it would be worth the investment.
Shoshi
OMG, That is sooo cool. Thank you so much for taking time to do this video. I purchased plenty of alcohol inks after watching the video on TH blog, but I never really used them. I kept thinking that I wasted money because I thought the only way to use them was with watercolor paper. Boy was I wrong after watching this video. All be going to M's on the weekend to get the missing supplies. I also love the shrinkable paper that would be perferct to make little trinkets for cards and lo. Thanks again for the video and detailed instructions. Cheers Julie :)
Thanks so much. Going on a trip. Have inks will travel!
Post a Comment
If you have a question please leave your email so I can respond, Thank You :)